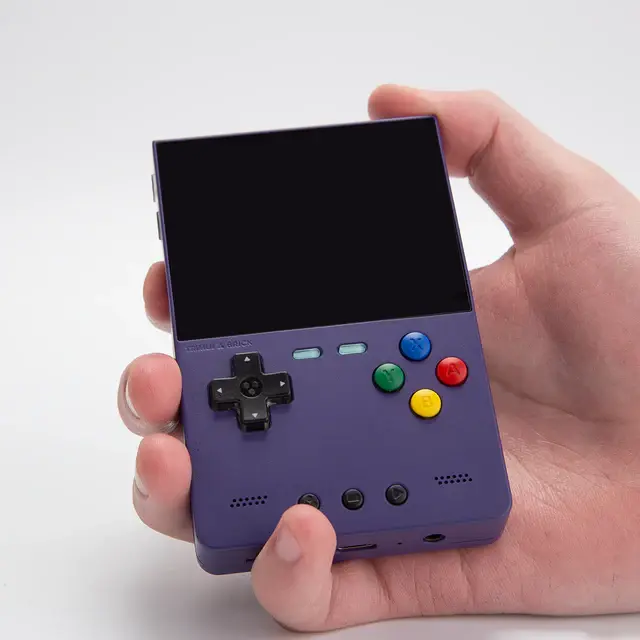
TrimUI's stock firmware is fine. NextUI is the reason people keep the device.
It is a custom firmware and launcher for the TrimUI family, built as a fork of MinUI, and it turns a good budget handheld into one that feels properly finished: box art, RetroAchievements, deep sleep that actually resumes, shaders and overlays, an on-device store for community add-ons, and a launcher that boots straight into what you were last playing.
This guide covers the whole process — which devices are supported, preparing the card, installing, getting your ROMs recognised, and the handful of details that trip people up.
Which devices run NextUI?
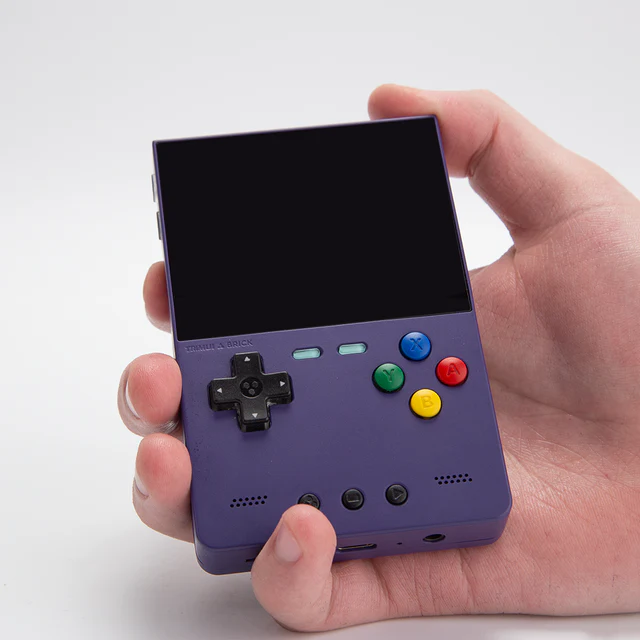
NextUI officially supports four handhelds:
- TrimUI Brick (and the Brick Hammer, which is functionally the same device)
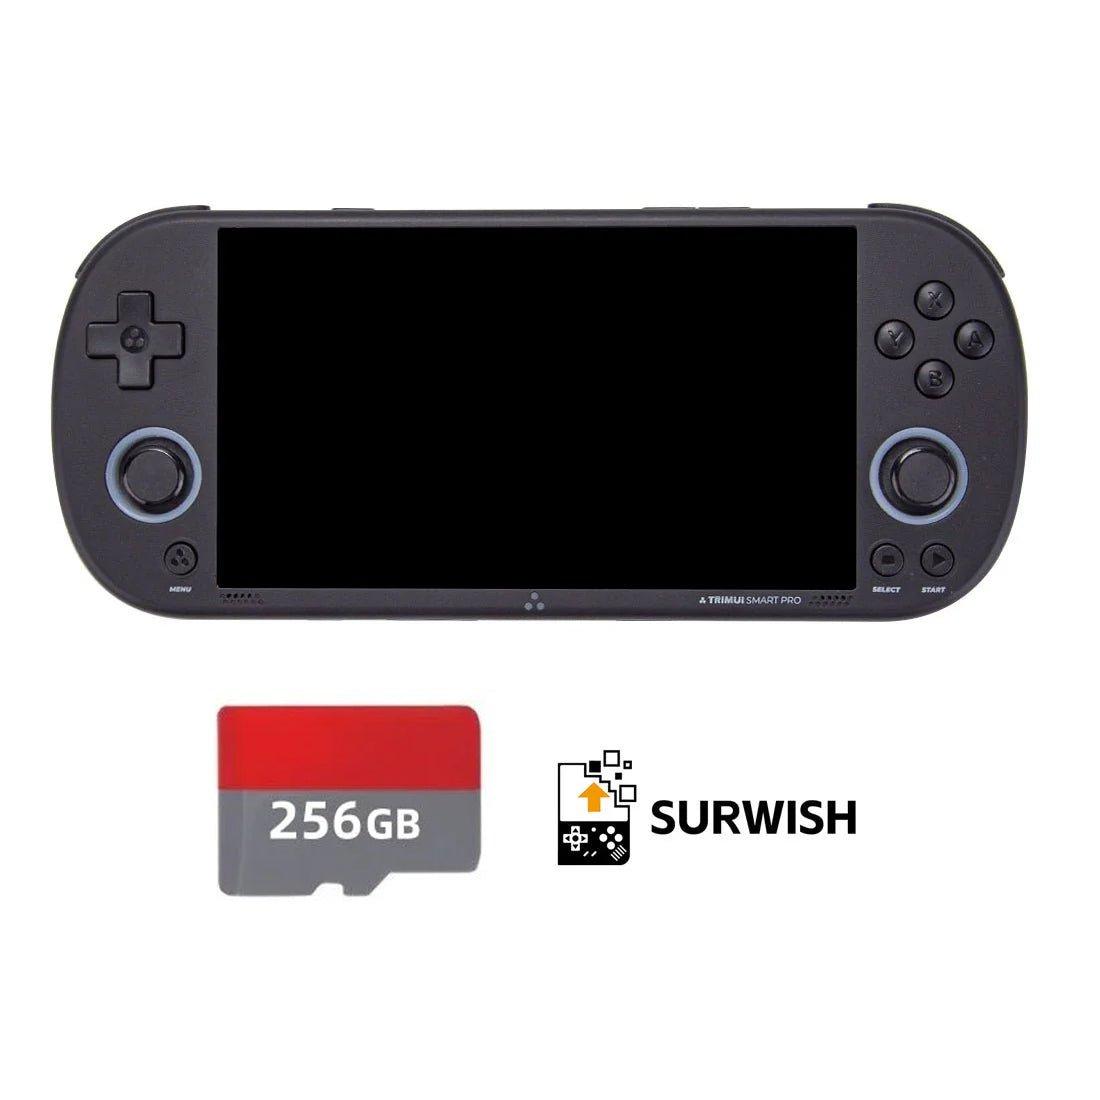
- TrimUI Smart Pro
- TrimUI Smart Pro S
- TrimUI Brick Pro
That is the supported list. NextUI is not a general-purpose firmware for any handheld — if you own a Miyoo, an Anbernic or a Powkiddy, you want a different project entirely (for Miyoo, start with our OnionOS guide).
One prerequisite matters more than the rest: the instructions assume your device is running the stock TrimUI OS. If you have already installed a different custom firmware, the project's advice is to reinstall the stock OS first so you are not building on top of changes you cannot see. MinUI is the single exception — coming from MinUI is fine, which makes sense given NextUI's lineage.
What you need
- A supported TrimUI device on the stock OS
- A fresh microSD card from a brand you recognise. SanDisk or Samsung; size depends on your library. Cheap cards are the single most common cause of "NextUI is broken" reports that turn out not to be NextUI at all
- Software to format the card — Disk Utility on macOS, Rufus on Windows,
parted/mkfson Linux - The latest NextUI release from the GitHub releases page
- Your own ROMs and BIOS files. NextUI ships neither
Which release archive?
Releases come in a few flavours, and picking the wrong one is a common first stumble:
| Archive | What it is |
|---|---|
-base.zip |
The normal install. Start here |
-all.zip |
Base plus the extra emulator and tool folders |
-extras.zip |
Extra content only — not a substitute for the base archive on a fresh install |
Preparing the SD card
Two requirements, both easy to miss:
- Format the card as FAT32 or exFAT
- Use a Master Boot Record (MBR) partition scheme, not GPT
The MBR part is the one people skip, because most formatting tools default to GPT on larger cards and the failure mode is silent — the device just boots to stock and you assume the copy failed. On Linux, an msdos label with the first partition starting at 1MiB does the job.
Formatting erases the card. If you are reusing one, copy off anything you care about first.
Installing NextUI
The install is a file copy plus a first boot. The device does the rest.
- Format the card as above and insert it into your computer.
- Download the current
-base.ziprelease and extract it on your computer. - Open the extracted folder and copy its contents to the root of the card — not into a subfolder. This is the second classic mistake: if everything lands inside
NextUI-20260407/, nothing will boot. - Leave
MinUI.zipzipped. The release archive gets extracted; theMinUI.zipinside it does not. It belongs on the card root as a zip file, and the installer expects to find it that way. The name is a leftover from NextUI's MinUI ancestry, not a mistake. - Eject the card safely, put it in the device, and power on.
- The installer runs on screen. Do not power off while it works. When it finishes, the device shuts down; turn it back on and you are in NextUI.
A correctly populated card root has Bios/, Cheats/, Overlays/, Roms/, Saves/, Shaders/, a trimui/ folder, MinUI.zip still zipped, and a few .pakz files sitting alongside them. If you used -all.zip you will also see Emus/ and Tools/.
Adding your games
NextUI creates a Roms folder with a subfolder per system, and the folder names carry a convention worth understanding, because it is what makes the rest of the system flexible.
Each folder ends with an uppercase tag in parentheses — that tag is what maps the folder to an emulator. The visible part of the name is yours to change:
Roms/Nintendo Entertainment System (FC)/
Roms/NES (FC)/          <- same thing, renamed
Roms/Famicom (FC)/      <- also fine
Rename freely; keep the tag.
Two cores for one system
If two folders share a visible name but have different tags, NextUI merges them into a single menu entry and launches each game with the emulator implied by the folder it actually lives in:
Roms/Game Boy Advance (GBA)/     <- launches with the GBA core
Roms/Game Boy Advance (MGBA)/    <- launches with mGBA
One "Game Boy Advance" entry in the menu, two cores behind it. Useful when one core is faster and the other is more compatible — put the awkward games in the compatible folder and forget about it.
Multi-disc games
For a single-disc game split into BIN/CUE, put the files in a folder named after the CUE and NextUI will launch the CUE rather than making you open the folder.
For genuinely multi-disc games, use an .m3u playlist: a plain text file listing each disc's .cue on its own line, named to match the folder. NextUI then treats the whole set as one game — one memory card, one save-state slot, and disc swapping from the in-game menu with left/right on the D-pad. This is the difference between Final Fantasy VII being pleasant and being an exercise in file management.
BIOS files go in Bios/. PS1 in particular will do nothing useful without the right BIOS, and "the game launches and immediately exits" is nearly always a BIOS problem rather than a bad ROM.
Paks: where NextUI gets interesting
A Pak is an optional add-on package — a folder ending in .pak with a launcher script inside. Tool Paks appear under Tools; emulator Paks show up as systems once a matching ROM folder exists.
NextUI ships with a Pak Store on the device, so you can browse and install them without touching a computer. The categories worth knowing:
- File transfer — FTP and HTTP browsers that let you add ROMs over Wi-Fi instead of pulling the card out every time. For most people this is the first thing to install
- Save sync and backup — Syncthing and cloud backup tools
- Standalone emulators for systems not built into the base firmware
- PortMaster for native game ports
- Scrapers and collection managers for artwork and library tidying
One caution the project itself raises, and it is worth repeating: sync tools are community Paks, not core firmware, and save states are tightly coupled to emulator versions. Syncing in-game saves between devices is generally safe; syncing save states across different cores or firmware versions is how you end up with a save that will not load. If you sync anything, start with Saves/.
Making it look good
This is where NextUI earns its reputation:
- Game artwork — box art per game, which transforms a long list of filenames into something browsable
- Overlays and shaders — bezels and scanline/LCD effects, per system
- Power LEDs and clock — configurable lighting behaviour and CPU clock control
- Custom boot logo, emulator icons, quick menu theming, custom categories
Add box art early. On a device with a screen this sharp, browsing cover art rather than text is most of what makes the thing feel like a product instead of a file browser.
Updating
Updating is deliberately boring, which is the point.
For a normal update: power off, put the card in your computer, download the new -base.zip, extract it, and copy just MinUI.zip to the card root — still zipped. Boot the device, let the updater run, and that is it. Your ROMs, saves, BIOS files, artwork and Paks stay where they are.
You only need to recopy the release's trimui/ folder when something more fundamental has changed: a fresh or reformatted card, the device booting to stock TrimUI OS instead of NextUI, the stock firmware having been reflashed, or moving the card to a different supported TrimUI device for the first time. If you are unsure, copying both MinUI.zip and trimui/ is a safe repair.
Back up the card before a big jump anyway — not because NextUI updates are risky, but because bulk-copying gigabytes is exactly when a marginal SD card decides to die.
Moving a card between TrimUI devices
Everything that matters lives on the card, so moving to another supported device largely works. Device-specific settings and logs live in platform folders under .userdata/ (tg5040, tg5050 and so on), which is why the same card can serve two devices without them fighting over settings. Copy the current trimui/ folder across on that first boot so the installer can do its repair pass.
Troubleshooting
It boots to the stock TrimUI OS. Either the files are one folder too deep, or the trimui/ folder is missing from the root. Check both before anything else.
The installer never appears. Almost always the partition scheme — the card needs MBR, not GPT.
MinUI.zip was extracted. Copy it back as a zip. It is meant to stay compressed.
A system does not show up. Check the tag in parentheses on the ROM folder. The visible name can be anything; the tag cannot.
Games launch then quit immediately. Missing or wrong BIOS for that system.
Everything is slow or saves vanish. Suspect the SD card before the firmware, especially if it was cheap or unbranded.
For anything deeper, the official documentation and the project's Discord are the right places — both are linked from the NextUI site.
NextUI vs the alternatives
| Firmware | Devices | The pitch |
|---|---|---|
| NextUI | TrimUI Brick, Smart Pro, Smart Pro S, Brick Pro | Polished MinUI fork with box art, RetroAchievements, Paks and deep customisation |
| MinUI | Wide range | Deliberately minimal — no box art, no themes, just a fast list and instant resume |
| CrossMix OS | TrimUI family | Feature-heavy community firmware; often what pre-loaded cards from retailers ship with |
| Stock TrimUI OS | TrimUI family | Works, updated rarely, none of the above |
If you already own the device, trying NextUI costs a spare SD card and twenty minutes — and because everything lives on the card, your stock setup survives untouched on the original one.
Which TrimUI should you run it on?
| Device | Why | Price | Buy |
|---|---|---|---|
| TrimUI Brick | The classic 3.2in pocketable, sharpest screen density | $85.99 | LitNXT → |
| TrimUI Brick Pro | Bigger 3.95in screen, Hall sticks, larger battery | $105.79 | LitNXT → |
| TRIMUI BRICK HAMMER | Metal-bodied version of the original Brick | $109.99 | LitNXT → |
| Trimui Smart Pro | 4.96in horizontal, better for PS1 and arcade | $89.99 | LitNXT → |
| Trimui Smart Pro S | The refreshed Smart Pro | $109.99 | LitNXT → |
Buying tip: several of these listings sell a CrossMix OS card on its own for around $50, which is why you sometimes see a suspiciously low "from" price on a console listing. Check you are buying a console, not a card — and if you plan to run NextUI, you do not need the bundled card at all.
Frequently asked questions
Is NextUI the same as MinUI? No, but it is a fork of it. NextUI keeps MinUI's fast, simple launcher philosophy and adds box art, RetroAchievements, Paks, shaders and far more customisation.
Does installing NextUI risk my device? It writes to the SD card, not the device's internal firmware, so it is reversible — keep your stock card and you can go back by swapping cards.
Can I use it on a Miyoo or Anbernic? No. NextUI targets the TrimUI devices listed above.
Does it come with games? No. It ships no ROMs and no BIOS files; you supply your own.
Do I need Wi-Fi? Not to install, but it is what makes RetroAchievements, the Pak Store and wireless file transfer work.
Related reading
- CrossMix OS guide — the other major TrimUI firmware, and what most pre-loaded retailer cards actually run
- TrimUI Brick Pro review — the newest supported device
- Reactivate LED control in MinUI for your TrimUI Brick
- OnionOS guide — the Miyoo equivalent
- How to add box art in OnionOS or GarlicOS