Introduction
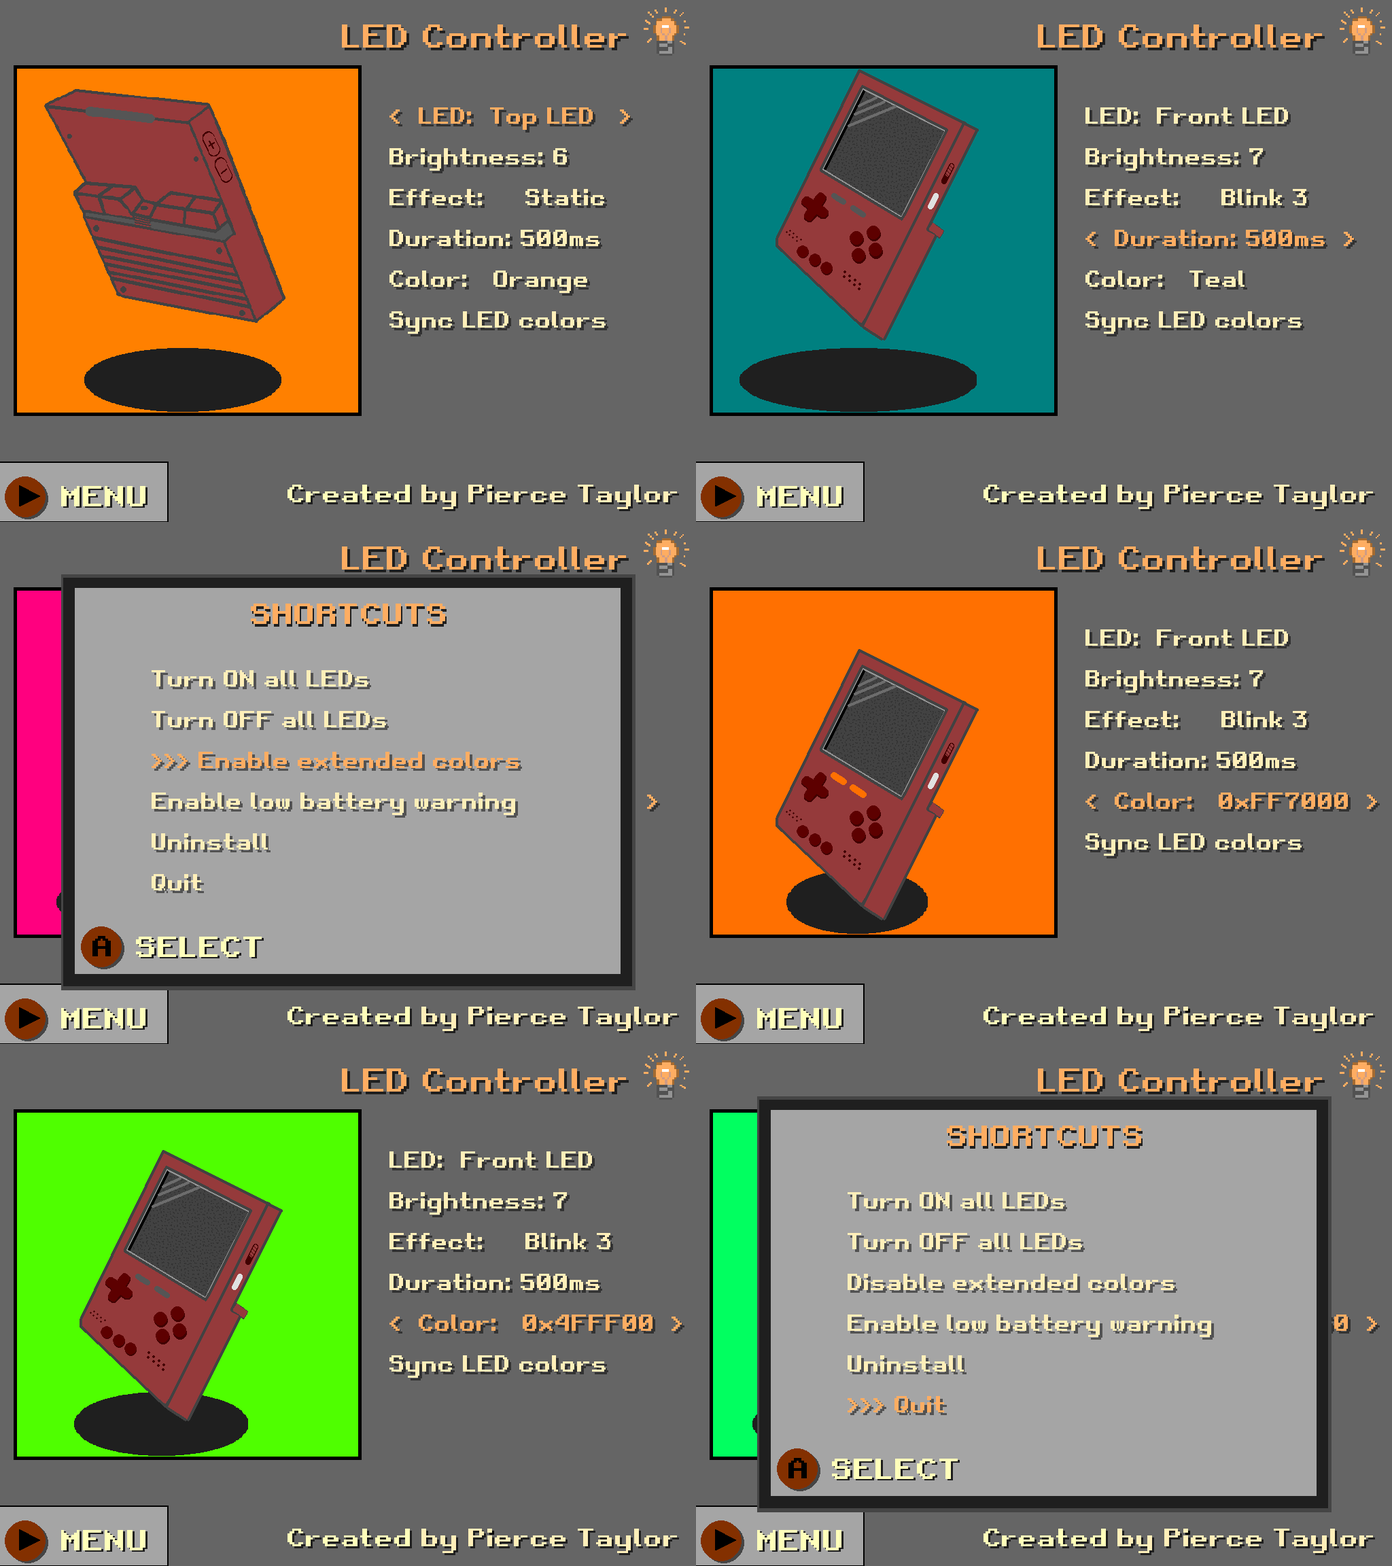
So far we love our new TrimUI Brick and installed MinUI for the perfect on the go pocket retro machine! However, we noticed that the LEDs don't work when using MinUI. However, we found the perfect tool called TrimuiLEDController created by Pierce Taylor on GitHub that will allow you to control the front, top, and shoudler button LEDs. They even added a low battery indicator that will flash when the battery falls below 15%. Handy!
Follow the steps below to get it working and customize the lights on your TrimUI.
Download TrimUI LED Controller
-
Go to the TrimUI LED Controller's latest release here.
-
Download LEDController.zip and extract the file to your computer.
-
In the extracted file directory, locate the LedController.pak directory.
-
Copy the LedController.pak directory into the Tools/tg3040 folder of your SD card. The Tools directory should be located in your sd card root.
-
With your sd card back in your TrimUI Brick, turn it on, and select Tools and then LED Controller to edit the LEDs on your device!

Conclusion
Congrats! Now you can change the LEDs colors, brightness, and even add some light effects to your TrimUI Brick. Thank you Pierce for making an awesome plugin. Right now, I'm rocking synced red color LEDs. It is really cool that there are light effects light breathing but that's a litle bit too much movement for me and I just keep my lights on solid (called static in the tool). Enjoy! Keep an eye out for more tutorial on the latest tools and plugins that we find useful for our retro game devices.


