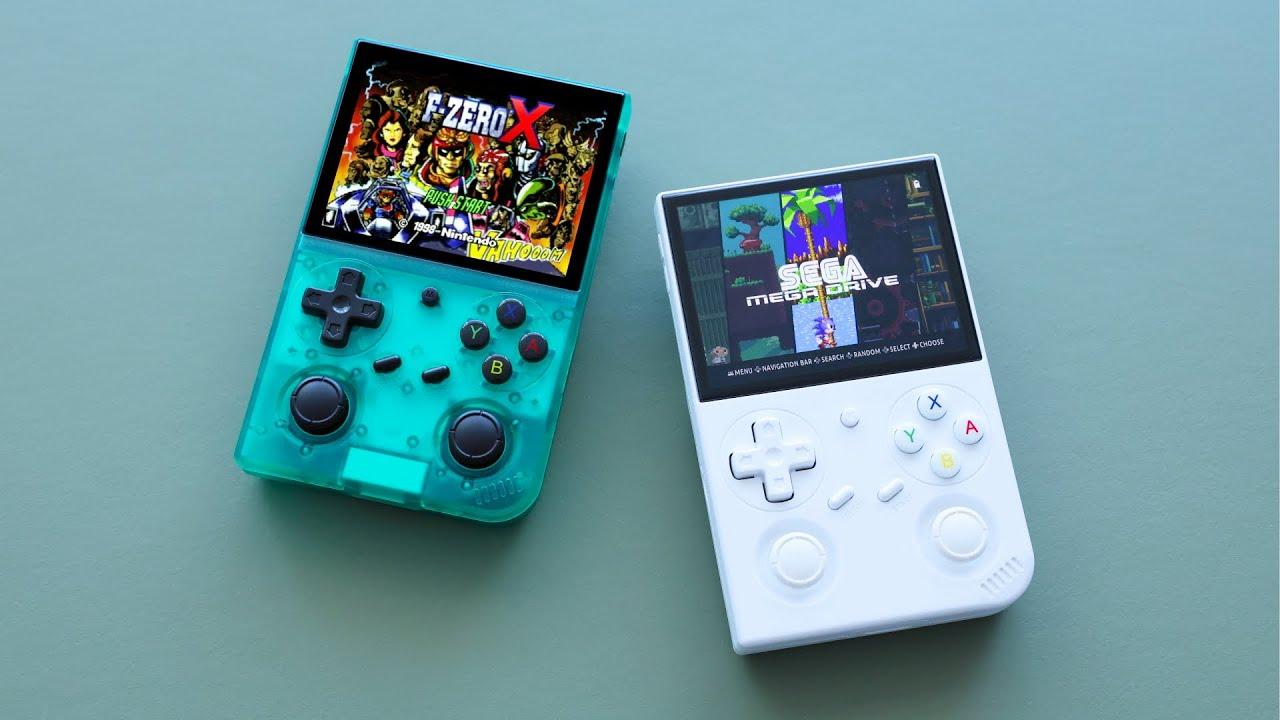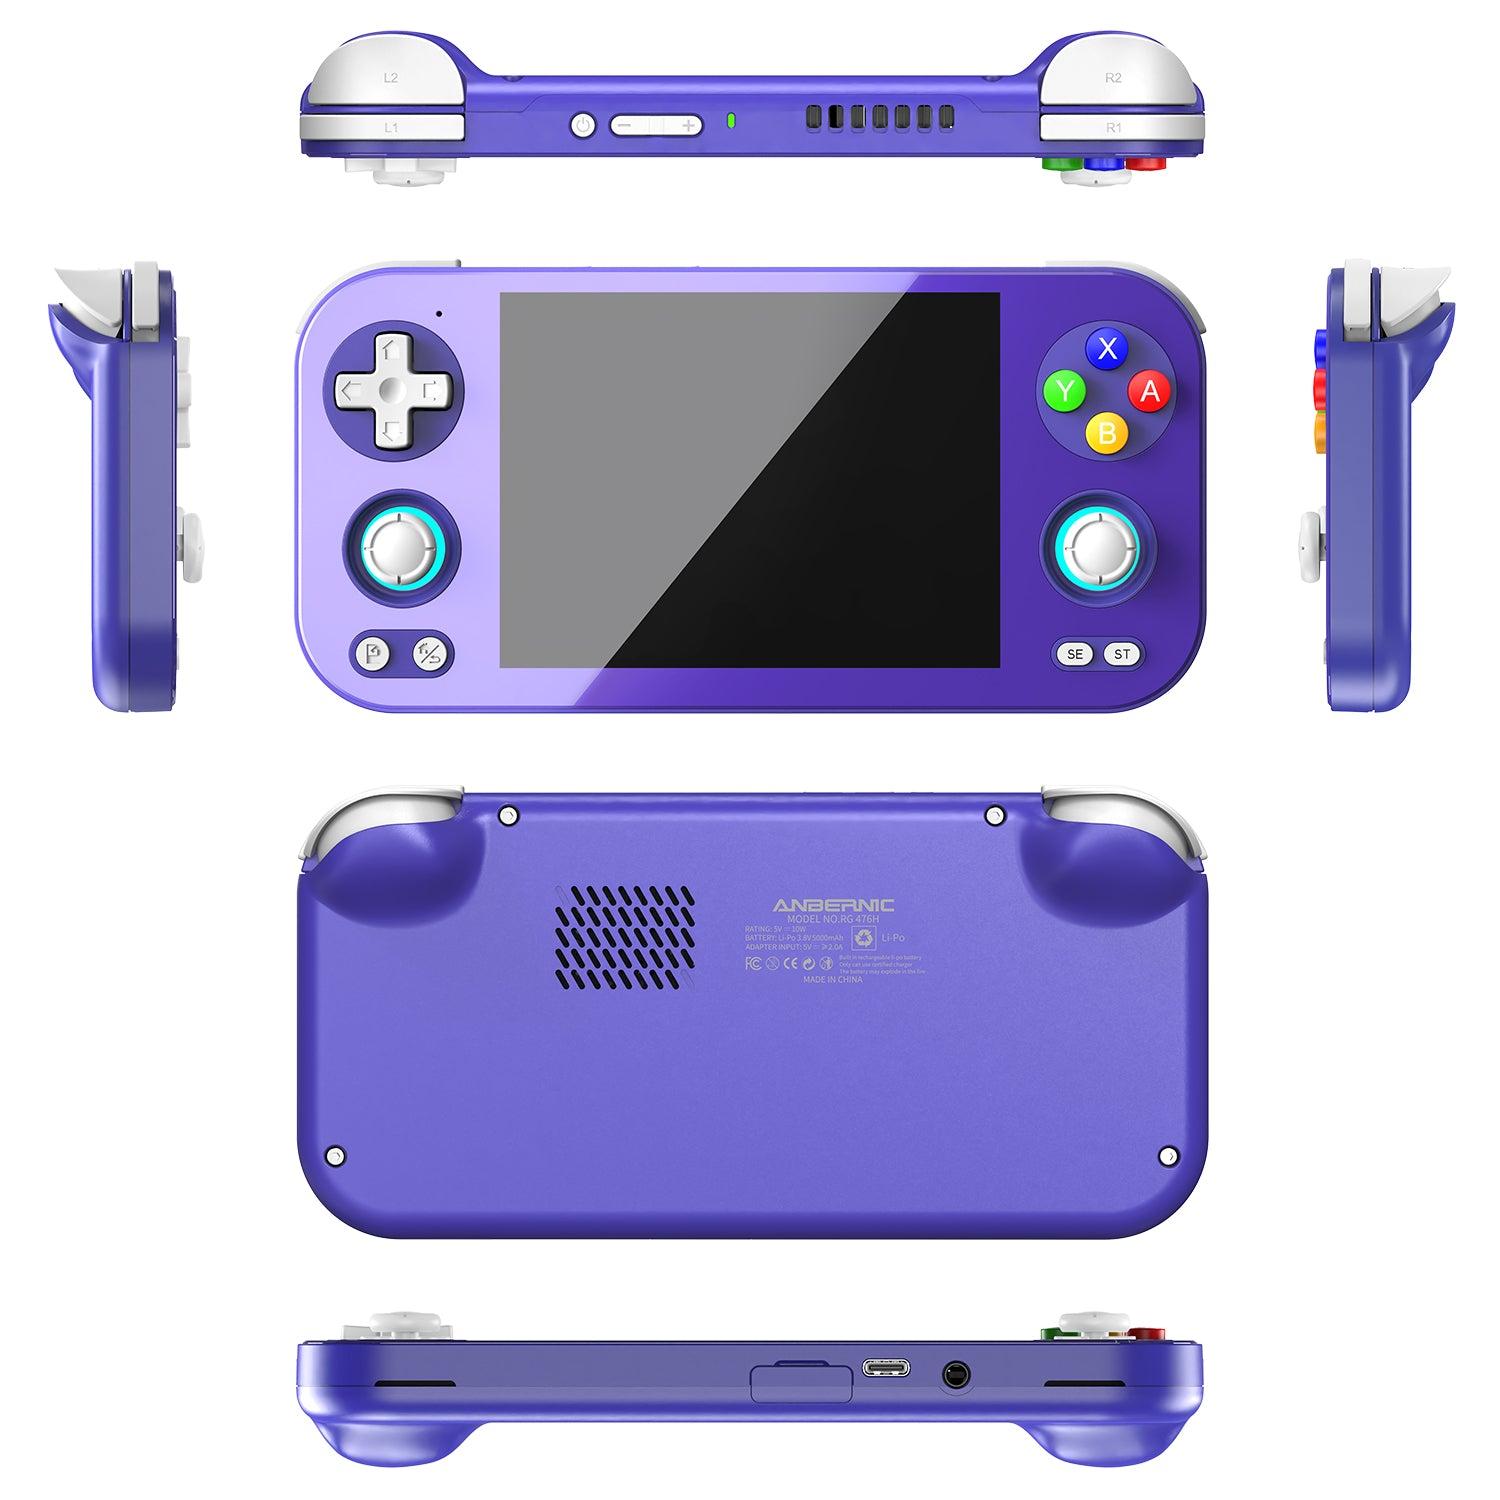
Installing OnionOS (Onion OS, if you searched it that way) takes about fifteen minutes and only writes to your SD card, which means it is completely reversible — keep the stock card in a drawer and you can always go back. This guide covers both installation routes, what to check first, and how to update later. If you want the background on what Onion is and what it adds, start with the OnionOS guide.
Before you start
Check your device firmware. Onion needs a minimum device firmware version underneath it: 20220419**** on the Miyoo Mini, 20230505**** on the Miyoo Mini Plus. Units made after July 2022 almost always qualify. If yours does not, you will need a firmware update first — and that step, unlike installing Onion, carries a real bricking risk, so read the official documentation carefully before attempting it.
Get a decent SD card. This is the single most common cause of "Onion is broken" posts. A slow or counterfeit card produces corrupted saves, failed installs and random freezes that look exactly like software bugs. Use a genuine card from a known brand — 64GB is plenty for everything up to PS1, and A1-rated cards are worth the couple of extra dollars.
You will also need a card reader, and a backup of anything already on the card. A fresh install formats it.
What you need
- A Miyoo Mini or Miyoo Mini Plus
- A microSD card (32GB minimum, 64GB comfortable)
- A microSD card reader
- A computer — Windows users get the easier path
Method 1: Onion Desktop Tools (Windows, recommended)
Onion Desktop Tools is the project's own Windows utility. It handles the parts of the process people most often get wrong — formatting the card correctly and laying down the installation files — so unless you have a reason to avoid it, use it.
- Download Onion Desktop Tools from the OnionUI project and extract it somewhere convenient.
- Insert your SD card and run the tool. It will detect the card; confirm it has picked the right drive letter before continuing, because the format step is destructive.
- Use the format option to prepare the card as FAT32.
- Use the install option to write the current Onion release to the card.
- Eject the card safely, put it in the handheld, and power on.
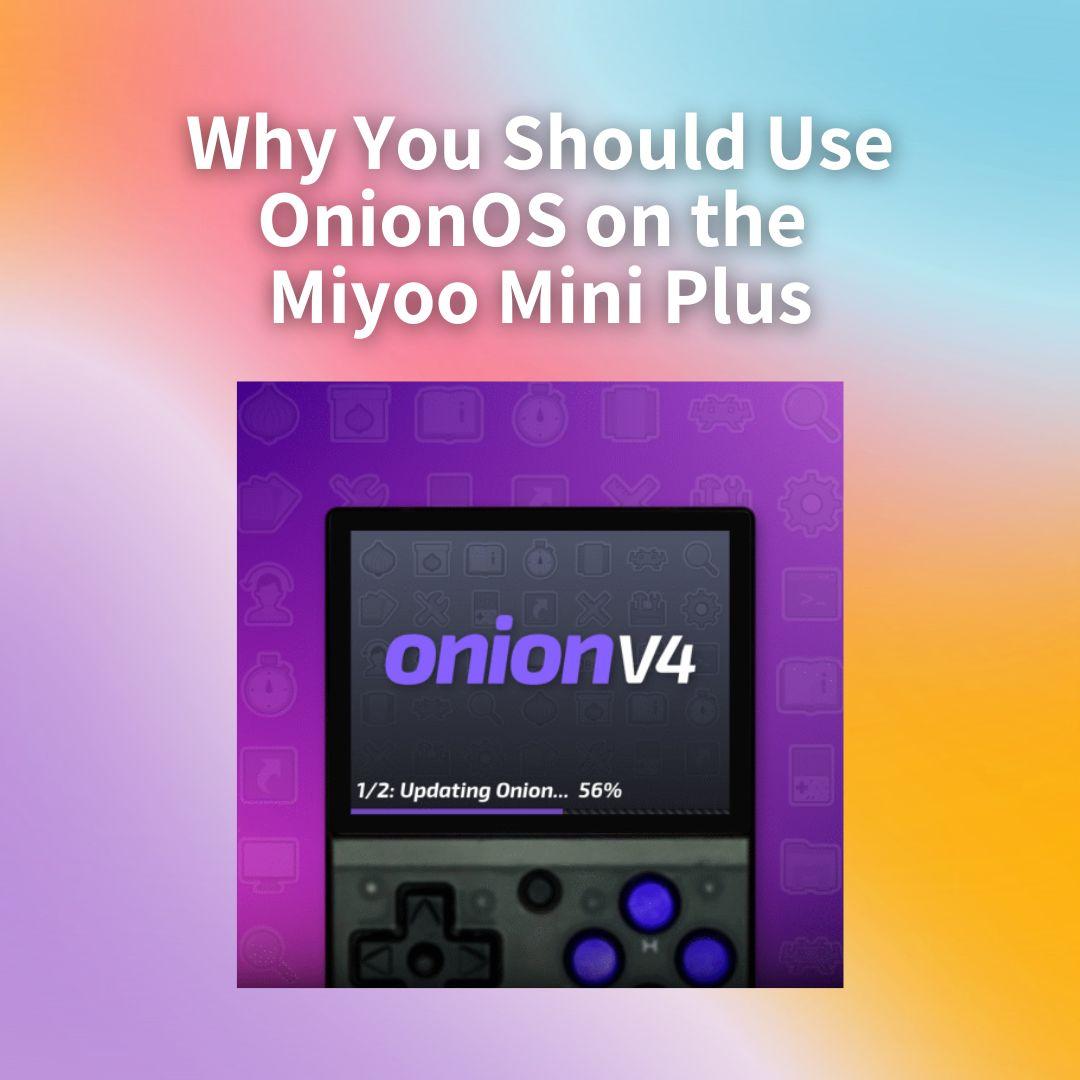
The device runs its own installer on first boot. Leave it alone until it finishes and drops you at the Onion main menu — it can sit on a progress screen for several minutes, and pulling the power partway through is how people end up starting over.
Method 2: Manual install (any operating system)
The manual route is barely harder and works on macOS and Linux too.
- Back up the card. Copy off any saves or ROMs you want to keep.
- Format as FAT32. The SD Association's official SD Card Formatter is the safest option on Windows and macOS. On Linux,
mkfs.vfatis fine. exFAT will not work — it must be FAT32. - Download the current Onion release from the official OnionUI releases page. There is one build for both devices; you do not need a Mini-specific or Plus-specific download.
- Extract the archive and copy its contents to the root of the card. Not into a folder — the files belong at the top level, sitting next to each other.
- Eject safely. Use your OS's eject function rather than yanking the reader; an interrupted write is the most common cause of a failed first boot.
- Insert and power on. The on-device installer takes over and does the rest.
First boot
The first launch takes noticeably longer than subsequent ones while Onion builds its configuration. Once you are at the main menu, do these three things before anything else:
- Set the clock. The Mini Plus has no reliable real-time clock across power cycles; the activity tracker depends on the time being roughly right.
- Check the battery percentage display, which is one of the more visible upgrades over stock.
- Test a single ROM before you copy a 10,000-file library across. It is far easier to diagnose one broken thing than a thousand.
Adding your games
Power off, put the card back in your computer, and drop ROMs into the matching folders under Roms — Roms/GB, Roms/SNES, Roms/GBA and so on. Onion picks them up on next boot and sorts them into the relevant console categories.
BIOS files, where a system needs them, go in the BIOS folder. PS1 in particular will not run without the correct BIOS present, and "the emulator does nothing when I launch a game" is almost always a missing BIOS rather than a bad ROM.
Once the library is on there, adding box art is the single biggest quality-of-life improvement — browsing hundreds of filenames gets old fast.
Updating OnionOS later
Updating uses the same mechanism as installing. Download the newer release, copy its contents to the root of the card, overwrite when prompted, and boot the device to let the installer run. Your ROMs, saves, save states and settings live in separate folders and are not touched.
Back up the card before a major version jump anyway. Not because Onion updates are unreliable, but because the moment you are copying gigabytes across a cheap card reader is exactly when a marginal card decides to fail.
Troubleshooting
The device boots to stock, not Onion. The files are probably one level too deep. Open the card and check the Onion files sit at the root, not inside an extracted subfolder.
The installer hangs or fails partway. Copy the installation files over again and re-run — this is the project's own first suggestion, and it resolves most cases. If it recurs, suspect the card.
Games launch to a black screen and return to the menu. Missing or wrong BIOS for that system, or a bad ROM. Test a second ROM for the same system to tell which.
Everything is slow, or saves keep vanishing. Almost always the SD card. Test it with a card validation tool; counterfeit high-capacity cards are common and report a size they do not have.
It worked, then broke after adding a huge library. Give the device time on first boot after a big import — it is indexing. If it never settles, the card is the suspect again.
Frequently asked questions
Do I need a different download for the Mini and the Mini Plus? No. One release covers both devices.
Can I go back to the stock OS? Yes. Onion lives entirely on the SD card, so swapping cards reverts you completely.
Does the Miyoo Mini Flip work with this guide? No — official Onion targets the Mini and Mini Plus only. See OnionOS on the Miyoo Mini Flip for what the situation actually is there.
Is Onion Desktop Tools available for macOS? It is a Windows utility. Mac and Linux users should use the manual method above, which reaches the same result.